Photobucket Photobucket Photobucket Photobucket

Sunday, 8 April 2012

How to make a simple fabric corsage

Hello again!

Two posts in one weekend! Crikey! 

I've been asked to share how I make my flower corsages. I've been wearing them at work and have received lots of lovely complements. I refuse to pay for them in the shops when they cost peanuts to make and can be knocked up in less than half an hour. 

You will need:
- Some scrap fabric
- Coordinating thread
- Scissors
- Needle
- Glue
- Brooch pin or safety pin
- Something round to draw around

Assemble your bits and pieces. 
First of all, iron your chosen fabric. You will need 10 circles of fabric, diameter up to you. I tend to go for 3inches as that makes a nice size corsage. One of the circles will need to be slightly smaller in diameter as this will form the centre of the flower. 

Next, take one circle which will form the base of your corsage. This is what you will sew the petals to. Take four further circles and fold them each into quarters as in the photo below. 

The base of the corsage to the left and the petals of the first layer to the right. 

Next, with your coordinating needle and thread, take your first quarter and place it on the base with the pointy end towards the centre. Sew one stitch through the point of the corner. In the photo below you can see the needle pointing towards the pink stitch at the pointy end of the quarter.

Ensure that all of the petals are sewn to the base, facing the same direction! 

Repeat this process with the remaining petals, ensuring that all the petals are facing in the same direction i.e. the open folds are all facing the same way.

Layer one complete!
This is the first layer complete. 

Now onto the second layer... follow the same process as the first layer, but the only difference is where you place the petals... as in the image below, you will see that the first petal of the second layer is sewn overlapping two petals of the first layer... and then work your way around until you have done all four petals ensuring that they all face the same direction.

Over lap the first petal of layer two over two petals of layer one, again, with the opening of the petals facing the same direction as layer one. 

Layer two complete!

Next, with your small circle, fold it in half and form a cone shape. With the pointy end of the cone, take your needle and thread and stitch through the end of the cone and through the centre of the flower. This will ensure that the centre of the flower will stand vertical. You may need to do more than one stitch to secure this to the flower. Once the centre petal has been secured, with your needle to the back of the flower, tie off your thread and cut. 
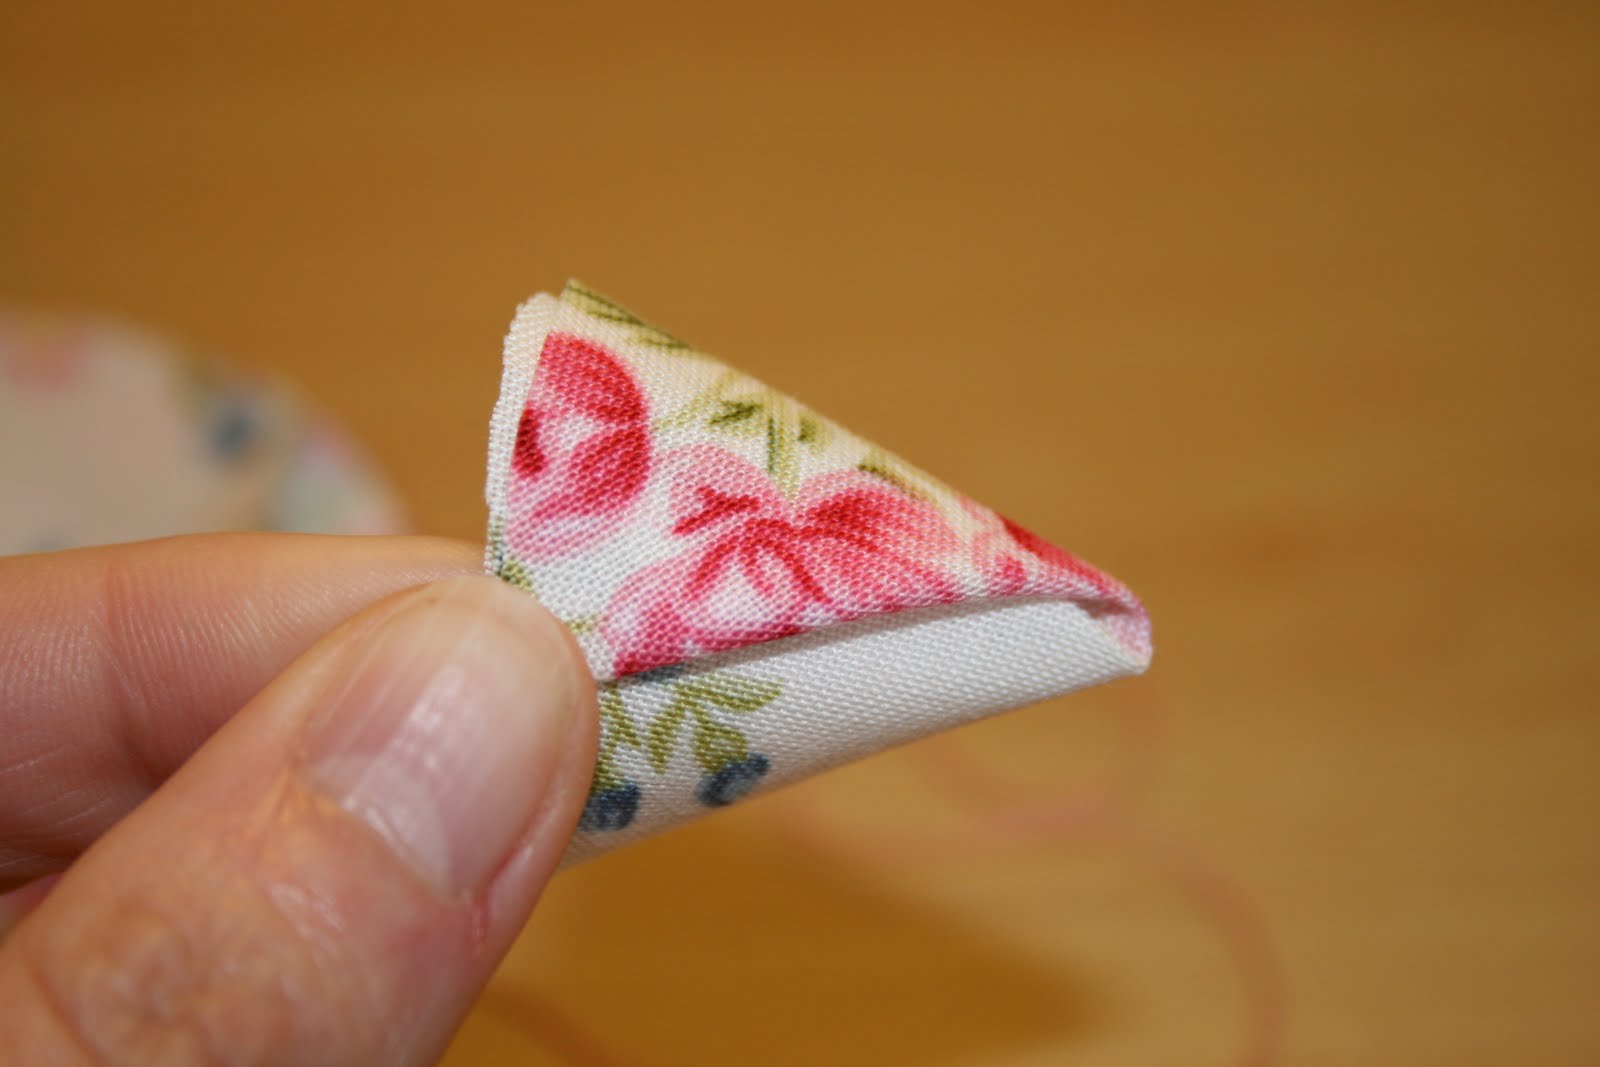
Forming the cone


Place your needle through the end of the cone, and stitch to the centre of the flower. You may need to  do more that one stitch to ensure that it is secured to the flower. 

Now you have made your corsage. It wasn't that scary was it?

Ta dah! 

Take a scrap of felt and cut a small circle to glue to the back of the brooch to hide your stitches. Secure a brooch pin to the back. If you do not have a brooch pin to hand (I buy mine for Ebay for peanuts for a pack of 50) get yourself a safety pin and either sew the safety pin to the back or grab some more felt and make a little tab to stick over the pin (the bit that doesn't open). This will hide part of the pin nicely, yet still secure it to the back of the brooch. 


Allow the glue to set before turning the brooch over and "fluff up" the petals. 

There are plenty of alternative with regards to making these brooches. You can omit the centre petal and replace this with buttons. You can use almost any fabric... what about a lace trim? Have a play around! 

Pretty in pink with a mixture of vintage glass beads. 

Why not layer your buttons? 

My favourite - vintage Liberty fabric!

Ohhhh which one to choose! 

Have fun! There are lots of possibilities!.

Nic xoxoxo


Introducing Herman the German.....

Howdy peeps, Happy Easter!

I hope you are all enjoying the Easter weekend.

I'd like to introduce you to my friend Herman.... Herman the German in particular. And he is a sourdough cake. A very delicious cake. This cake is also known as a Friendship Cake and its roots stem from the Amish Community. It's a bit like a "chain cake" rather than a "chain letter"! I'll explain further...

I was kindly given Herman by a colleague at work. Herman starts off as a live culture which, after 10 days of loving and feeding, you divide into four portions, giving three away to friends (to carry on the chain) and one portion you make into a loving cake... I was luckily given one of the portions to take home and love. So here's what happens:

Day 1. Take Herman home and place into a large bowl which can hold 2 litres. Cover him with a clean tea towel and leave him in a safe dry place. Do not place Herman in the fridge as the cold will kill him. If Herman stops bubbling, then he has died :-(

Say hello to Herman! 
Day 2. Say hello to Herman and give him a good stir!

Day 3. Say hello again, and give him a good stir!

Day 4. Today you need to feed Herman the following:
- 115g plain flour
- 225g granulated sugar
- 235ml of milk

Give Herman a good stir and cover again.

Day 5, 6, 7, and 8 - Stir well!

Day 9. Herman is hungry again! Feed him the same as day 4. Once all of the ingredients have been combined, divided the mixture into 4 equal portions. This is where you give three of the portions away to friends with a copy of the recipe. The forth portion gets turned into a cake on day 10!

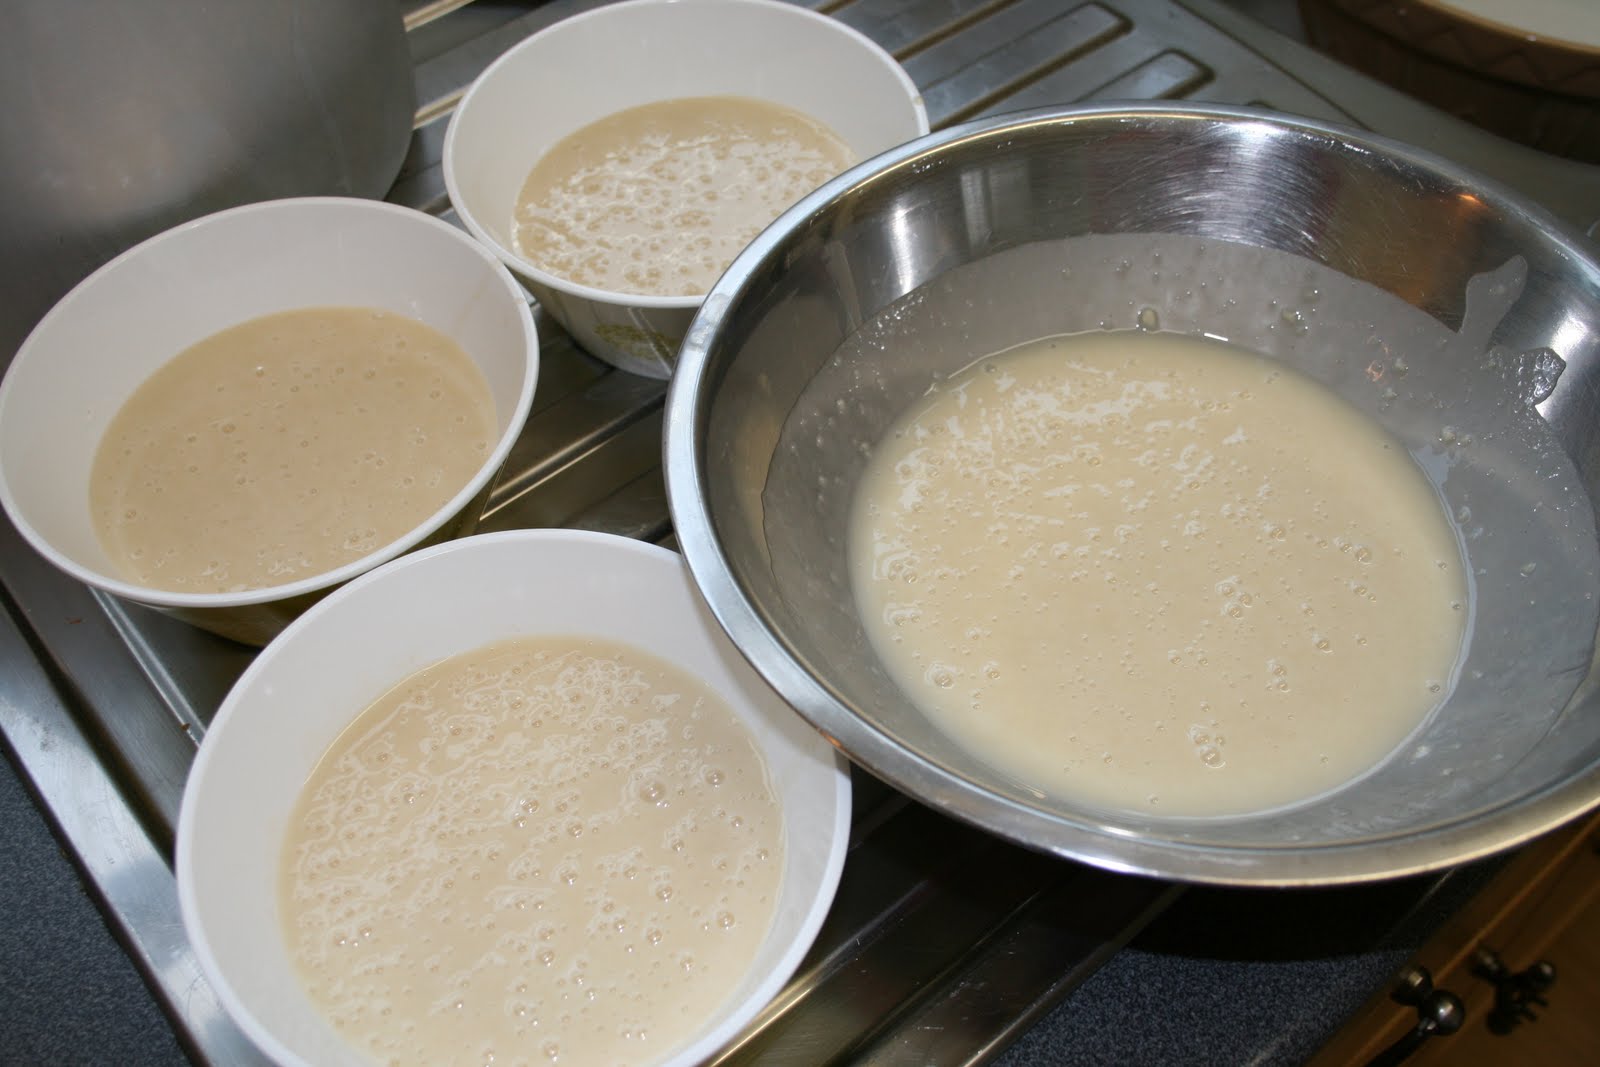
This is Herman, divided into 4 portions. Three to be given to new homes and one to make the cake!
Day 10. My oh my, Herman is a hungry boy! Lets make the cake.
In a large bowl add the following:
- 225g plain flour
- 225g caster sugar
- 2 eggs
- 2 tsp vanilla essence
- 2 heaped tsp of cinnamon
- 2 heaped tsp of baking power
- 1/2 tsp salt
- 160ml vegetable or sunflower oil
- 2 cooking apples, cored, peeled and chopped into chunks
- 100g of nuts (optional)
- 100g of sultanas (optional)

Here are the dried ingredients in a large bowl, and the egg, oil and vanilla in a jug. ready to go. 

Add the oil and egg mixture as well as Herman. 

Stir well with a wooden spoon. 
Pour the mixture into a large greased roasting tin. I tend to line my with grease proof paper as it makes it easier to take it out. Sprinkle with 50g of brown sugar and pour over the 50g of melted butter.


Place into deep baking tray and pour over the melted butter and brown sugar

Bake Herman in the oven (170C / Gas 4) for 45 minutes. Do check after 25 as he may be ready.

Bake until golden brown! 


Allow Herman to cool and cut into slices. He freezes very well too!

You can enjoy Herman warm with some ice cream or save him for afternoon tea!


If you want to start you own Herman, here's what to do:
You will need:
- 140g plain flour
- 225g castor sugar
- 7g of active dry yeast
- Half a pint of warm milk
- 2fl oz of lukewarm water

Dissolve the yeast in the warm water for 10minutes and stir. Then add the flour and sugar and stir. Slowly stir in the warm milk. Cover the bowl with a clean tea towel. Leave for 24hours and then start the 10 day cycle and off you go!

Enjoy!

Sunday, 18 March 2012

Trying out some new flour... produced for the WI!

Hello peeps,

How is everyone? I do believe that Spring is in the air.... somewhere.... last weekend it was so warm that Mr P was in shorts, however this weekend we've got the fire lit! Very strange! We also appear to be shrouded in fog every morning which is rather annoying! I'm used to sea fog having lived my the coast all of my life, but the amount of fog we get inland is astonishing.

There appears to be a new range of flour available on the market! You can read more here. Flour made for the WI by local producers! Oh yes! Along with a range of other goodies including biscuits and preserves which are made in the UK. You can find them in your nearest Waitrose.

The flours have not long been introduced to our local Waitrose so I popped down today and brought a couple of bags of plain and self raising flour to give them a try since they were on offer. Well it would be rude of me not to give them a go considering that I now work for the WI....


Lovely packaging (it's only flour I hear your cry.... there is flour, and then there is flour). The packaging tells you a bit about the producers and there is also a lovely recipe on the back of each bag which is handy.  WI tried and tested recipes of course!

First off I made chocolate brownies with the plain flour and then a classic Victoria sponge with the self raising flour.


The test will be in the eating tomorrow when I take them to work for my colleagues at Denman College to try! There is no pressure when I bake for work now.... who am I kidding!??!?

I've also managed to get around to take some photos of my new bowls that I won on Ebay - well, they are new to me, but they do go back a few years themselves... I've tried to look into them to see how old they are but I can't find any records at all. They are made by TG Green and I love them. I also brought the flour sifter to match. The guy who I won them off on Ebay does house clearances and they were wrapped in the original paper that they were brought in. He was clearing out an elderly ladies house. I use them all the time, but make sure I wash them by hand as I wouldn't want to damage the paint work.


Better go and make some butter cream for my Victoria Sponge ... should be cool by now!

I'll let you know how the taste test goes!

Cheerio,

Nic xoxoxo

UPDATE: Here you go....

Victoria Sponge for the Housekeeping team...

Mmm, a mouse appears to have nibbled one of the brownies!  Just letting the second one cool prior to dusting with cocoa powder.

Sunday, 4 March 2012

A bit of a crafty post....

Hello hello hello!

How is everyone? Sorry for disappearing for a short time, but life has been quite hectic! New job, putting house on market, house hunting..... so as you can imagine, I can't tell up from down at the moment!

I managed to steel some time today to catch up with you.

I popped down to Cornwall a few weeks ago before I started my new job with the WI (yes folks, that is the Women's Institute!) to catch up with friends and family. Much to my delight, I also had time to catch up with my gran who has very kindly given me a wonderful stash of craft goodies. Yay! Gran was a keen crochet and lace buff, but unfortunately age has caught up with her and has started to affect her eyesight which is a terrible shame.

I was lucky enough to be given a lovely crocheted doily at Christmas which my gran made me. I think it is her last piece of work. I know it took her a long time to finish it because of the detail. It now sits at home, in pride of place, under my egg basket in the kitchen.


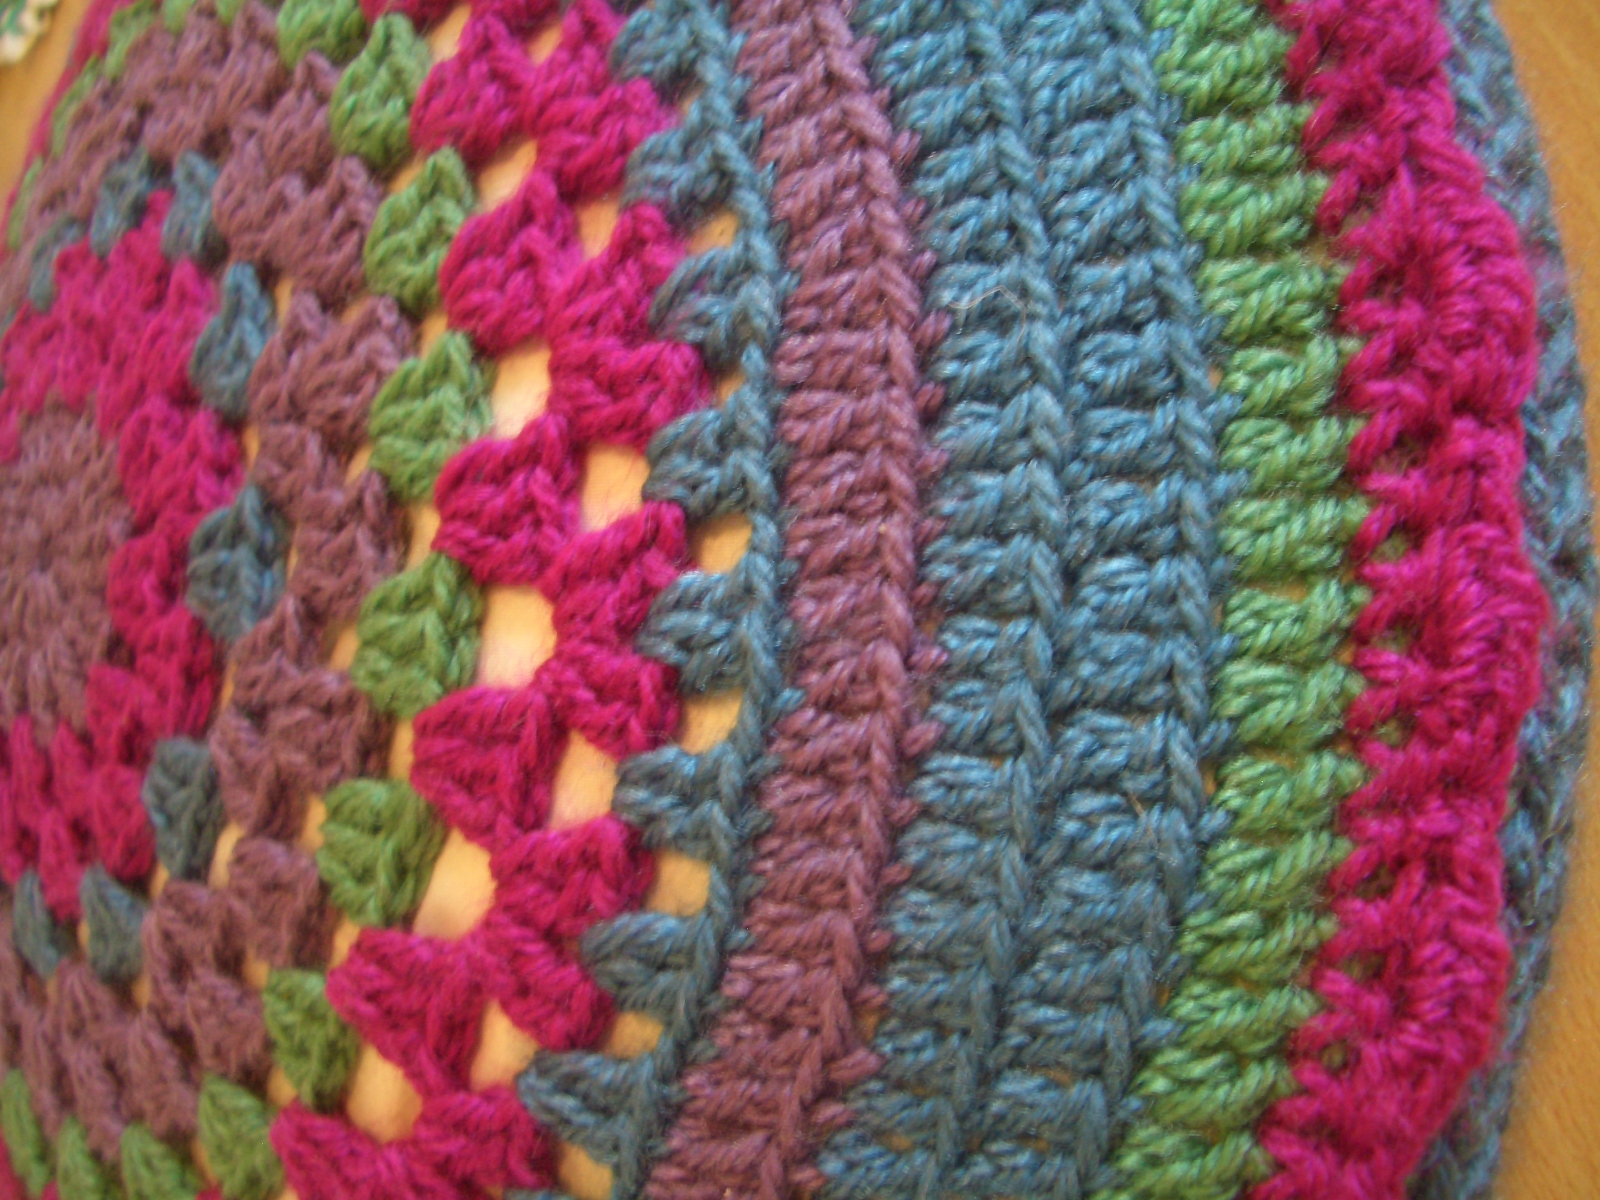
Talking of crochet, it has been something that I have wanted to learn for ages. It's been years since I picked up a hook and some yarn, so just before Christmas I went on a course at Darn It and Stitch in Oxford. After an afternoon of learning the basics and buying some books and practicing at home, here is my first creation.... which I must say, I am very pleased with....


Now that I have inherited a box of crochet goodies from my gran, which includes crochet threads, loads of doilies and trims to play with, and a super stash of old books and patterns.... some going back to the 60's and 70's.... I think I have enough to play with and create something! Ideas on a postcard please! I may just have to take my stash over to the tutor at Darn It and Stitch for some guidance!

Part of the stash!

Doilies already made and ready to be put together.... somehow! Any ideas!?

Plenty more of where that came from!

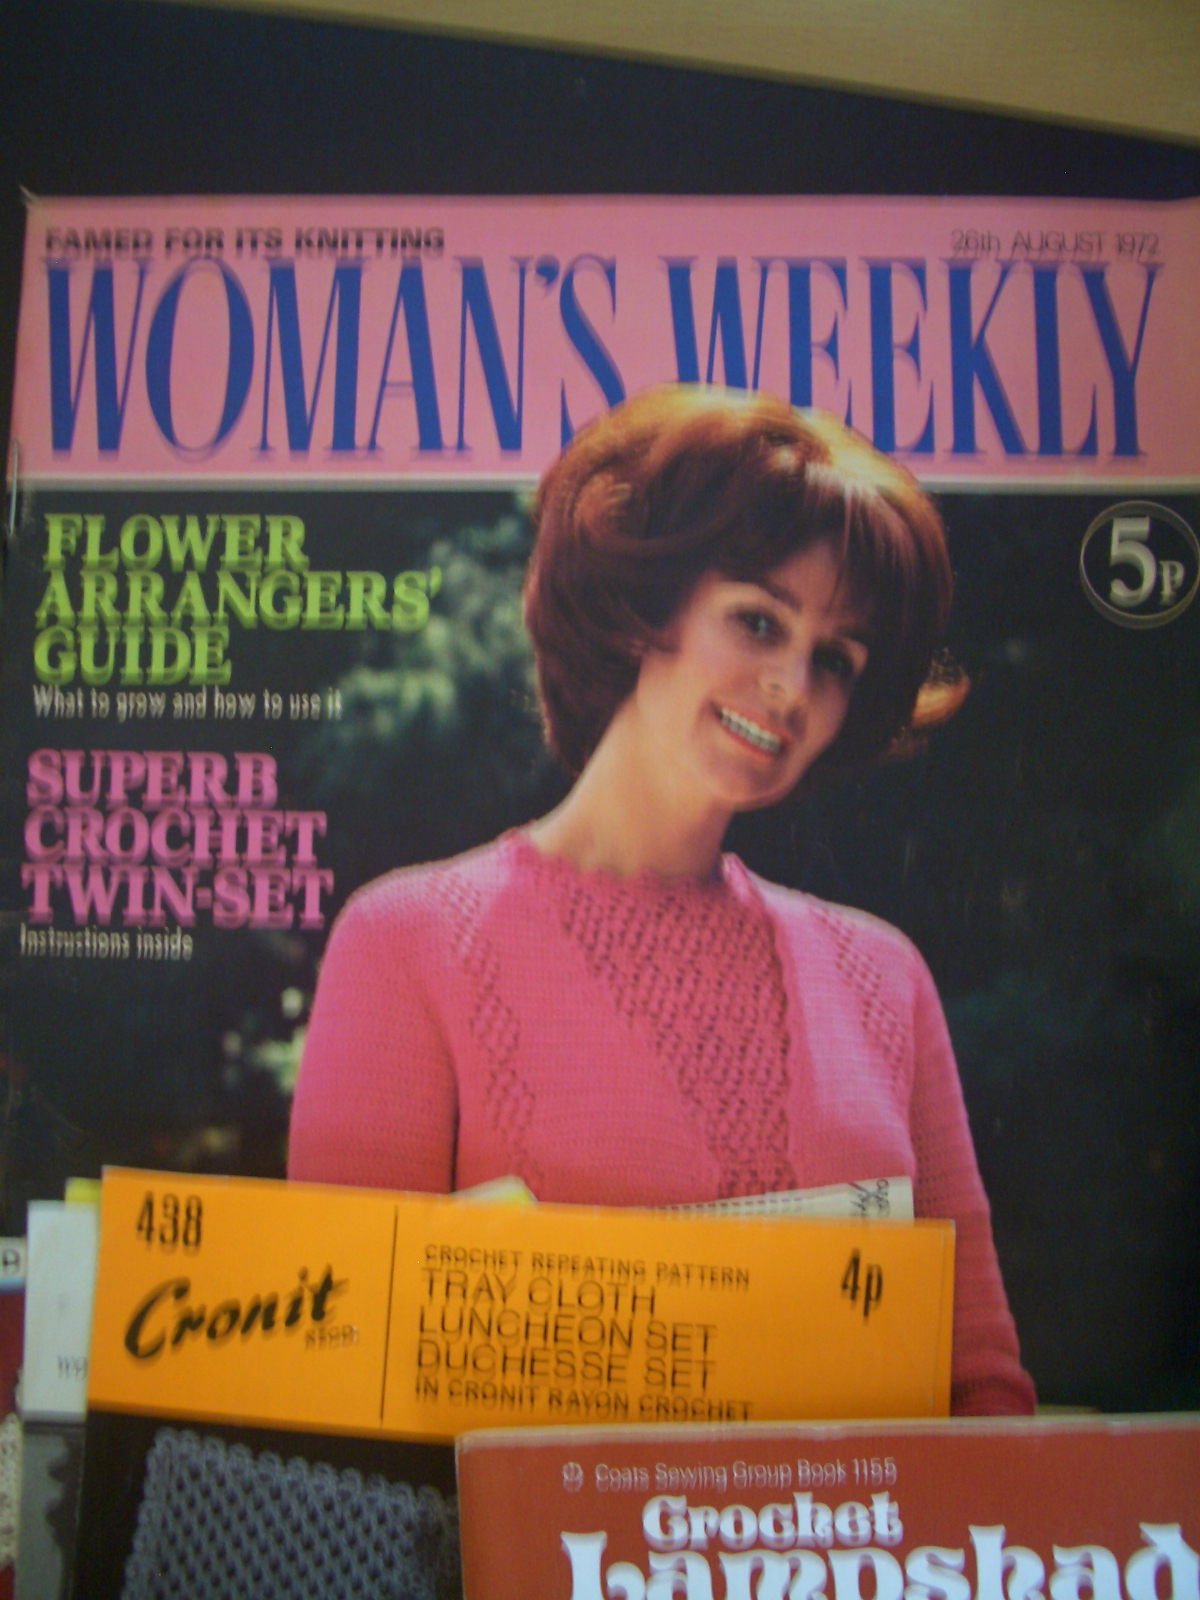
What a stash of books! 


From 1972! This one is older than me and Mr P!!!


I was also lucky to be given some lovely old plates that my gran was clearing out. I have been after some old plates for serving my afternoon tea on for ages and also ones that are nice to photograph.... et voila! I'll have to remind Mr P that these plates DO NOT go in the dishwasher!


So, there you go! Not much on the baking front I am afraid. I feel that I need to make some lavender shortbread to go with those lovely plates now!

But for the time being, I'm off to get tangled in all of that yarn from my gran!

Cheers for now!

Nic xoxoxox

Sunday, 5 February 2012

It's Snow Joke!

Howdy Folks!

How's it going? We've had some snow overnight, which, for once, was correctly predicted. It started to snow at 4pm yesterday and kept on coming down all night. We woke early this morning to 5 inches of snow and a very white snowy sky.

So, since Mr P and I are like big kids, (you have to understand that we are from Cornwall, and Cornwall doesn't do snow!) we got up, filled ourselves with porridge, kitted up and headed out at 8am to go for a long walk.

We walked over to Blenheim Estate which was stunning. We are lucky to have Blenheim as our back garden. We were really surprised to find that the whole lake was frozen over. So here are some snowy pictures for you to enjoy! Sorry there is no blue sky... it's been very white in the sky all day! More snow on the way apparently!

Mr P all togged up

Not much happening on the road this morning

Out of bed on a Sunday before as the sun is still waking up


Making friends with the locals

Blenheim Lake - frozen

No fishing today

Even the large lake was totally frozen over

Blenheim Bridge  - all looking very cold


After our epic walk in the snow this morning (a swift 7 miles) through 5inch deep snow (we had very tired legs when we got through the door) a hot shower, cup of tea and a bacon sarnie which very well deserved! We are now both in out PJs, snugged warmly inside, watching rugby! No shame is putting the PJs back on! It's not like we are heading out anywhere again today! Oh the shame of it!

Cheerio,

Nic xoxox