

Two posts in one weekend! Crikey!
I've been asked to share how I make my flower corsages. I've been wearing them at work and have received lots of lovely complements. I refuse to pay for them in the shops when they cost peanuts to make and can be knocked up in less than half an hour.
You will need:
- Some scrap fabric
- Coordinating thread
- Scissors
- Needle
- Glue
- Brooch pin or safety pin
- Something round to draw around
 |
| Assemble your bits and pieces. |
First of all, iron your chosen fabric. You will need 10 circles of fabric, diameter up to you. I tend to go for 3inches as that makes a nice size corsage. One of the circles will need to be slightly smaller in diameter as this will form the centre of the flower.
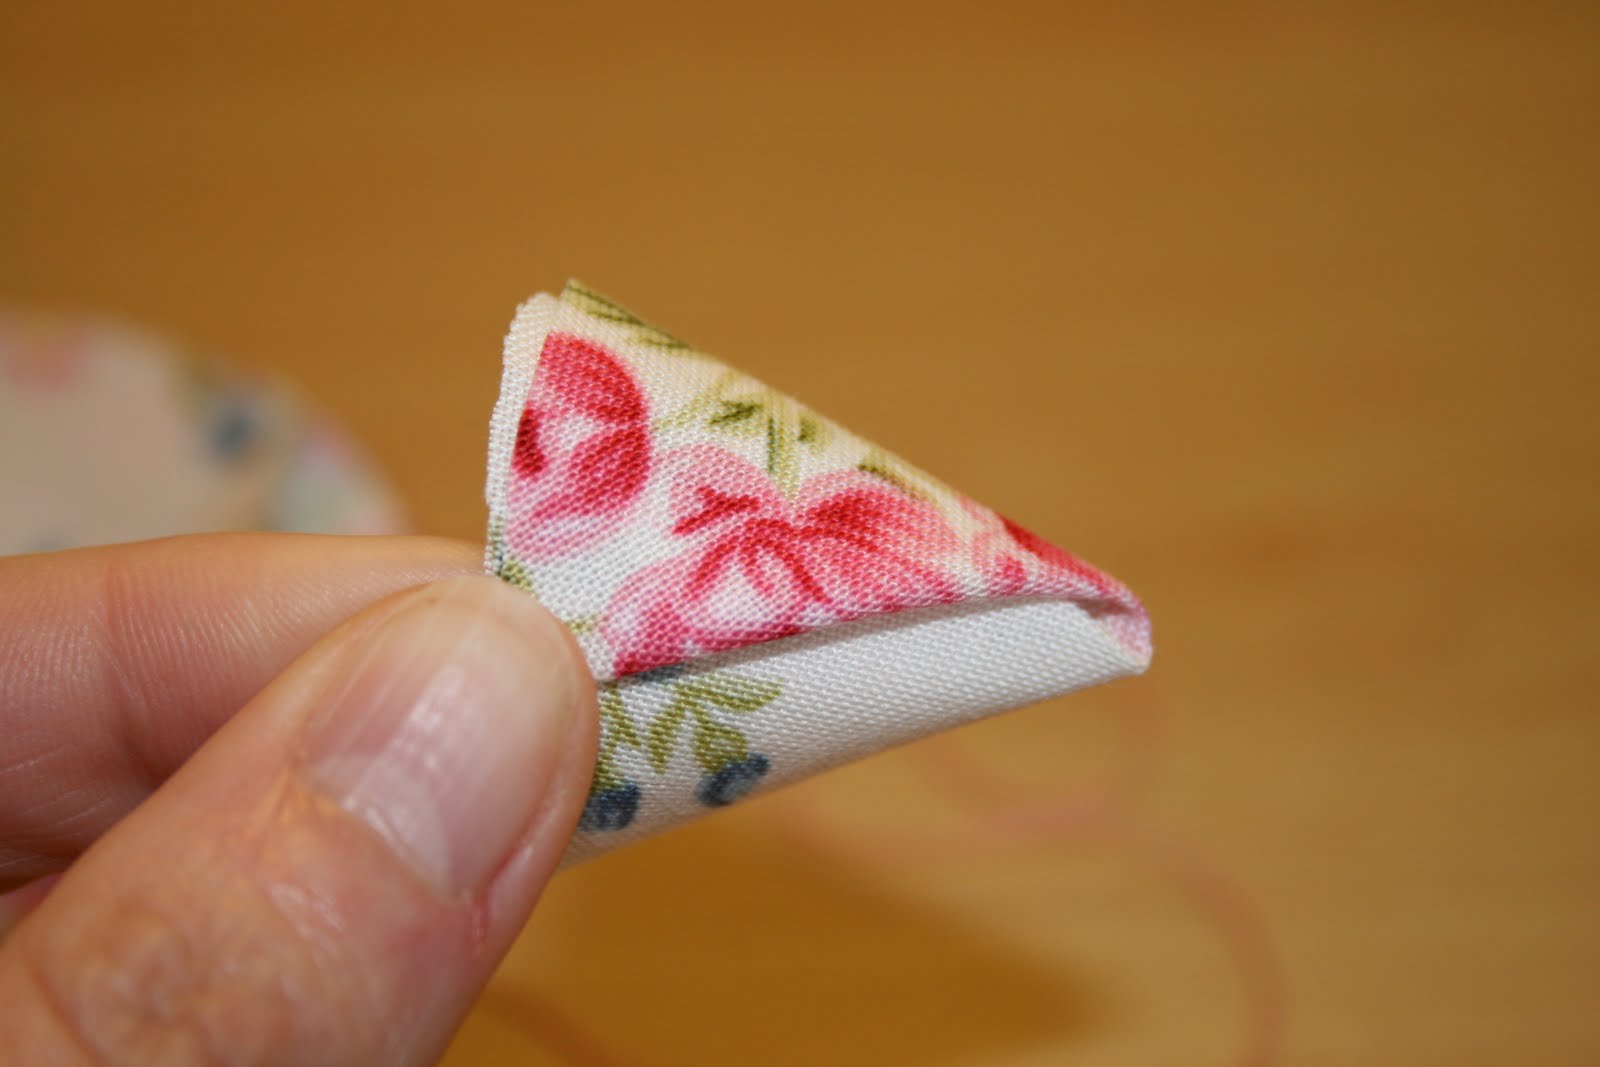
Next, take one circle which will form the base of your corsage. This is what you will sew the petals to. Take four further circles and fold them each into quarters as in the photo below.
 |
| The base of the corsage to the left and the petals of the first layer to the right. |
Next, with your coordinating needle and thread, take your first quarter and place it on the base with the pointy end towards the centre. Sew one stitch through the point of the corner. In the photo below you can see the needle pointing towards the pink stitch at the pointy end of the quarter.
 |
| Ensure that all of the petals are sewn to the base, facing the same direction! |
Repeat this process with the remaining petals, ensuring that all the petals are facing in the same direction i.e. the open folds are all facing the same way.
 |
| Layer one complete! |
This is the first layer complete.
Now onto the second layer... follow the same process as the first layer, but the only difference is where you place the petals... as in the image below, you will see that the first petal of the second layer is sewn overlapping two petals of the first layer... and then work your way around until you have done all four petals ensuring that they all face the same direction.
 |
| Over lap the first petal of layer two over two petals of layer one, again, with the opening of the petals facing the same direction as layer one. |
 |
| Layer two complete! |
Next, with your small circle, fold it in half and form a cone shape. With the pointy end of the cone, take your needle and thread and stitch through the end of the cone and through the centre of the flower. This will ensure that the centre of the flower will stand vertical. You may need to do more than one stitch to secure this to the flower. Once the centre petal has been secured, with your needle to the back of the flower, tie off your thread and cut.
 |
| Forming the cone |

 |
| Place your needle through the end of the cone, and stitch to the centre of the flower. You may need to do more that one stitch to ensure that it is secured to the flower. |
Now you have made your corsage. It wasn't that scary was it?
 |
| Ta dah! |
Take a scrap of felt and cut a small circle to glue to the back of the brooch to hide your stitches. Secure a brooch pin to the back. If you do not have a brooch pin to hand (I buy mine for Ebay for peanuts for a pack of 50) get yourself a safety pin and either sew the safety pin to the back or grab some more felt and make a little tab to stick over the pin (the bit that doesn't open). This will hide part of the pin nicely, yet still secure it to the back of the brooch.

Allow the glue to set before turning the brooch over and "fluff up" the petals.
There are plenty of alternative with regards to making these brooches. You can omit the centre petal and replace this with buttons. You can use almost any fabric... what about a lace trim? Have a play around!
 |
| Pretty in pink with a mixture of vintage glass beads. |
 |
| Why not layer your buttons? |
 |
| My favourite - vintage Liberty fabric! |
 |
| Ohhhh which one to choose! |
Have fun! There are lots of possibilities!.
Nic xoxoxo